
Tools Required: Phillips screw driver, 7/16” wrench, Black duct tape, ¼” heat shrink, Zip ties 6”or 8”, Flush Zip tie cutters, solder or high quality connectors, test light or Digital Multimeter, Cordless drill (optional)
Install difficulty 2 out of 5
Install time: 45 min to 1 hour per Blade wired (experienced installer)
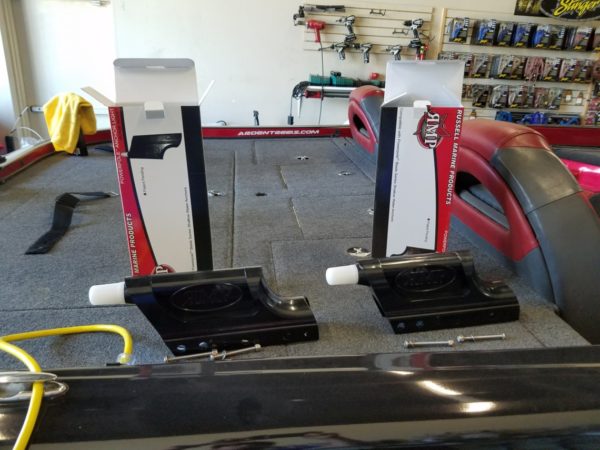
Russell Marine products came up with a great addition to our Power Poles and Talons. For me I have a pair of Black 10’ Power Pole blades on my 07 Nitro 929CDX. So in my build I purchased two anchor lights to make my Blades look even. Unboxing your new Anchor light for the Blade you will find a well-constructed attachment for the top of your anchor, 2) Phillips head bolts, 2) stainless washers and 2) 7/16” Nylon locking nuts. Wiring will already be coming from the LED light on the inside and you will have to run them carefully through your anchor. Remember that you DO have moving parts to run the wires around.
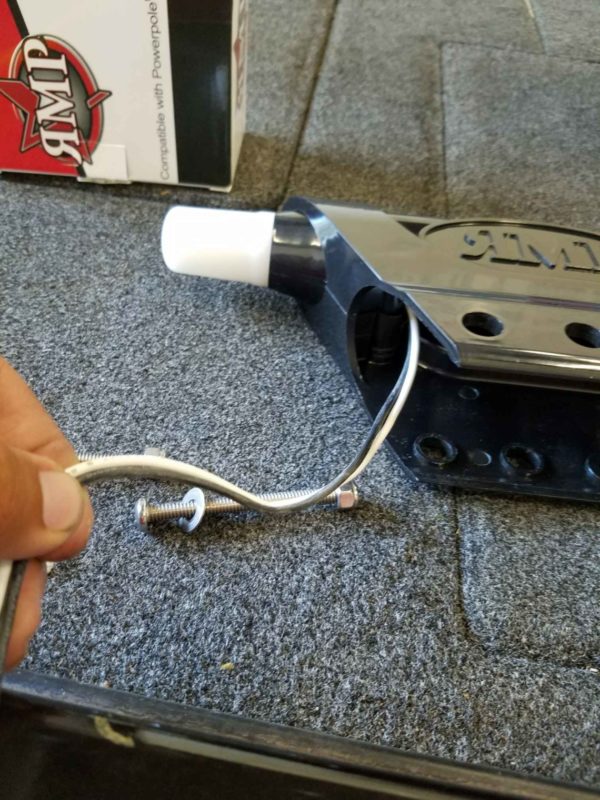
Next I grabbed some ¼” Heat Shrink to help keep the wires secure at the base of the new light for ease of running through open hole #5 on my Blades. You have a choice to heat shrink the wire just into the blade or the full length of the wiring to be less likely to see the wires through the holes of your blade, Just make sure if you heat shrink the full length of the wire to leave 4 to 6 inches of wire exposed so that you have something to work with easily when attaching to your Nav light receptacle.
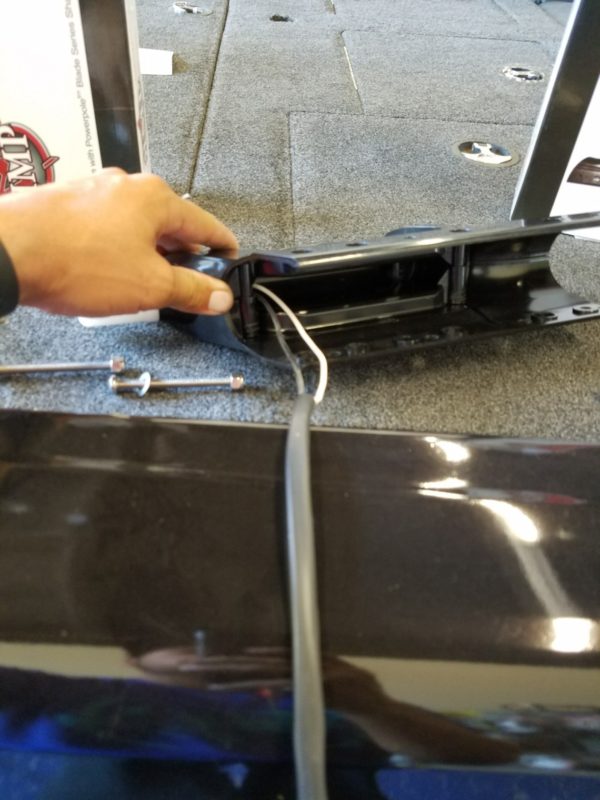

If you turn your new anchor light upside down you will notice a groove on each side where hole 5 should be. In this location you will tape in the LED’s wire that you recently Heat Shrinked. (I used a small piece of Black duct tape). Once you have done this you are ready to attach the anchor light and run the wire through hole #5 on your blade.
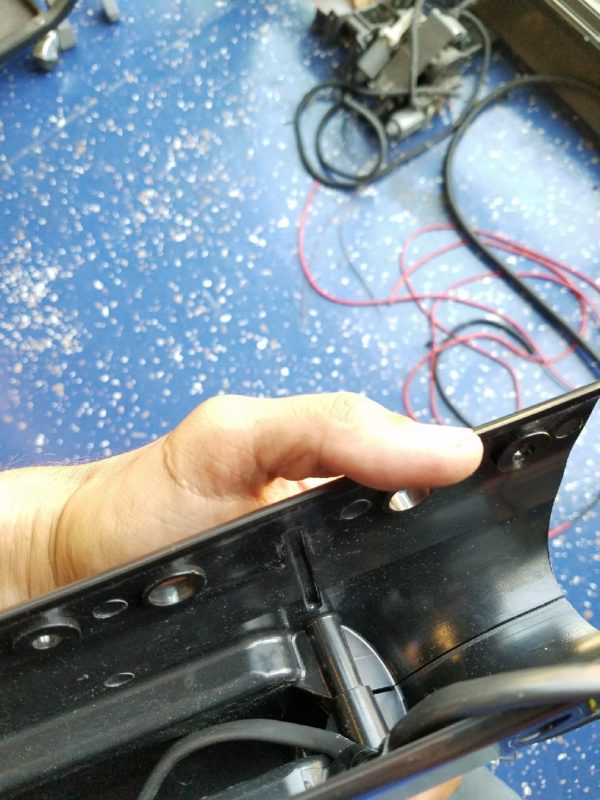
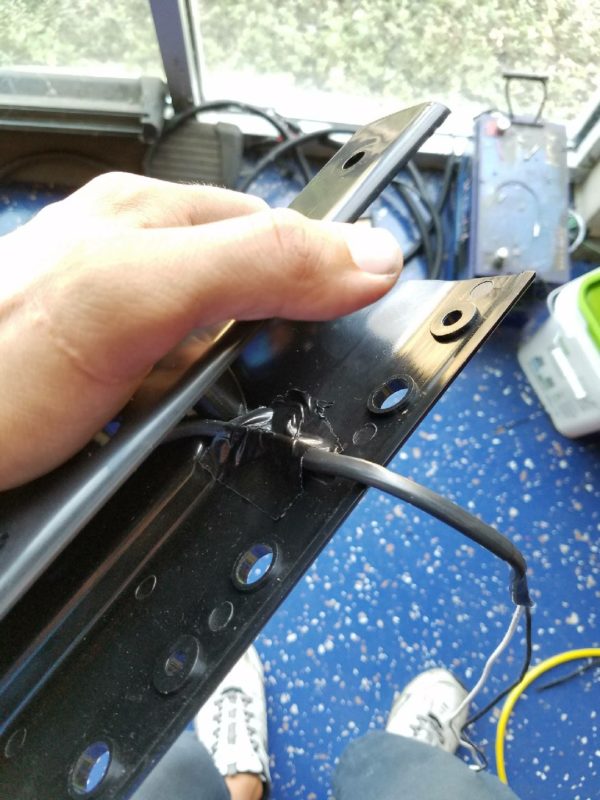
The Anchor light is designed to nearly snap in place. They did a superb job on the mold! Turn your anchors on and put them down till they rest on your garage floor. Count down to open hole #5 from your top bolt on your Blade and insert the wire on the side of the groove you chose to use inside your anchor light housing. Slowly pull the wire through the inside while setting your Anchor light in place.
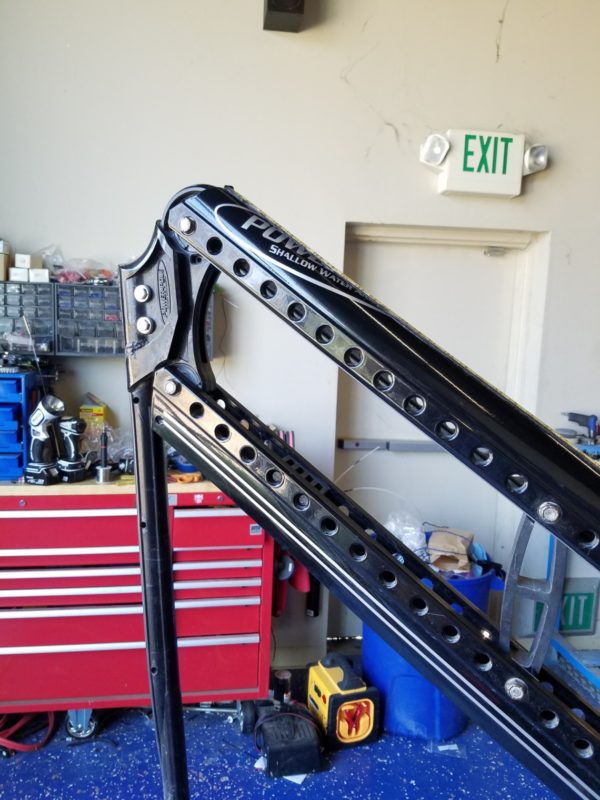
After it is sitting in place where it is to be bolted you can attach your hardware. You will notice 2 holes are smaller on your anchor light on each side. These are where the supplied hardware comes in. For cosmetics, I added the supplied 7/16” Nylon lock nuts and stainless washer on the same side as the Blades Factory hardware.
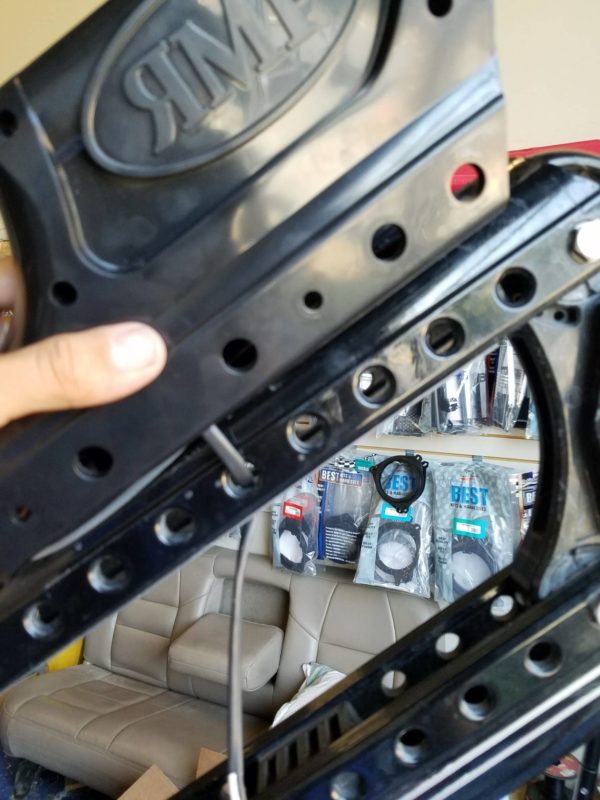
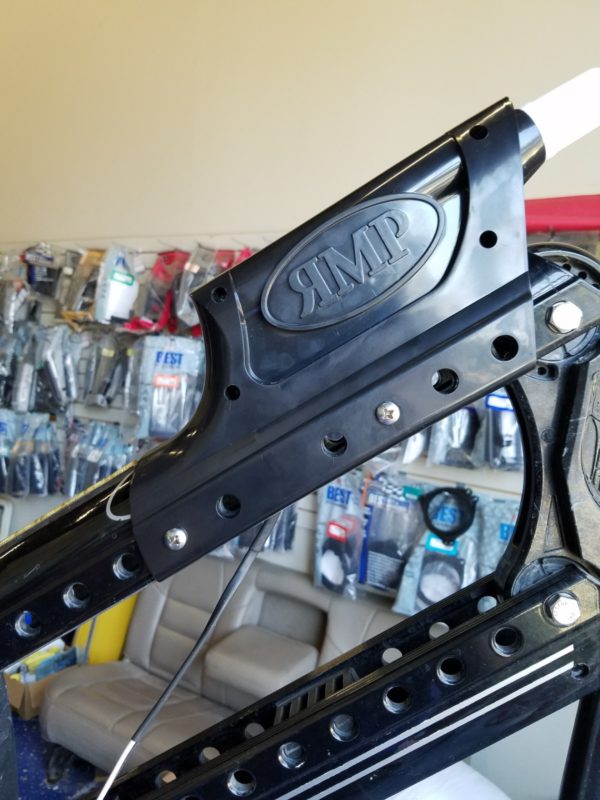
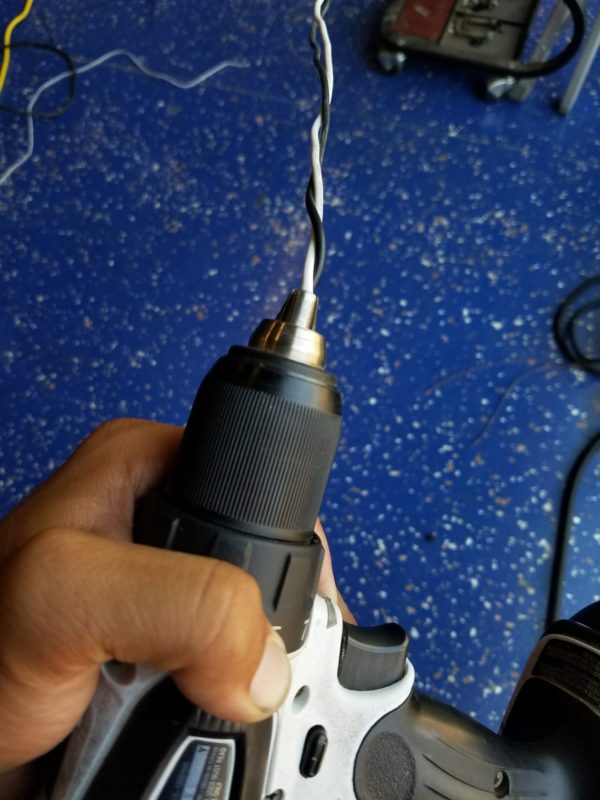
Using a standard drill driver, If you did not heat shrink the entire length of the wire. You can add the flush ends into the chuck, tighten and spin the wires until they are nicely grouped up. This will keep them together and look cleaner than dangling single wires.
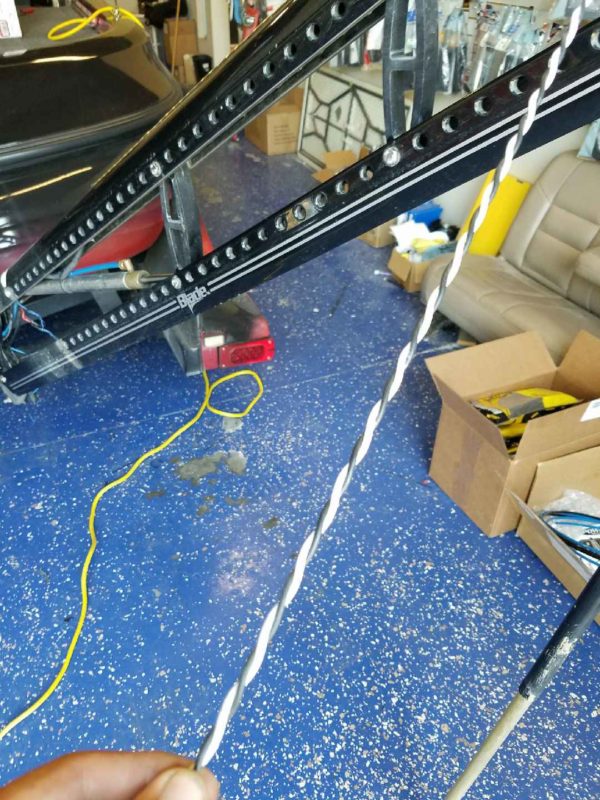
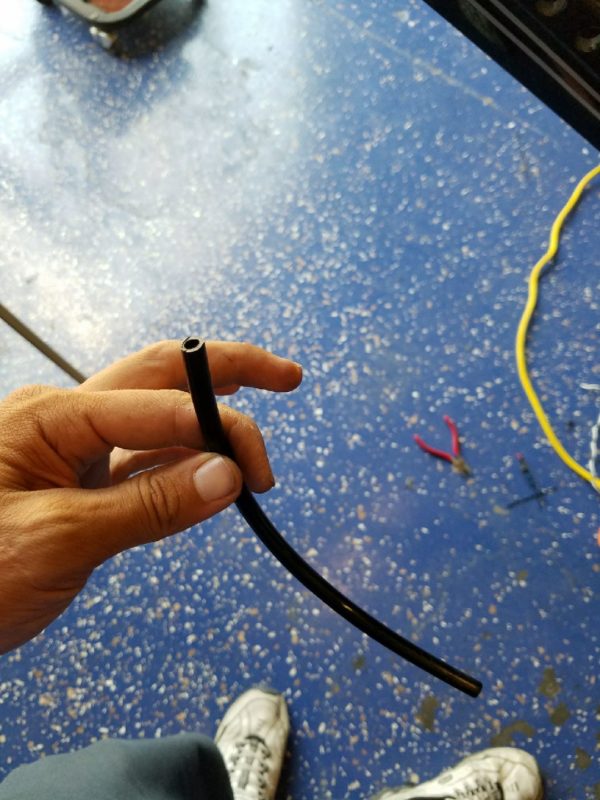
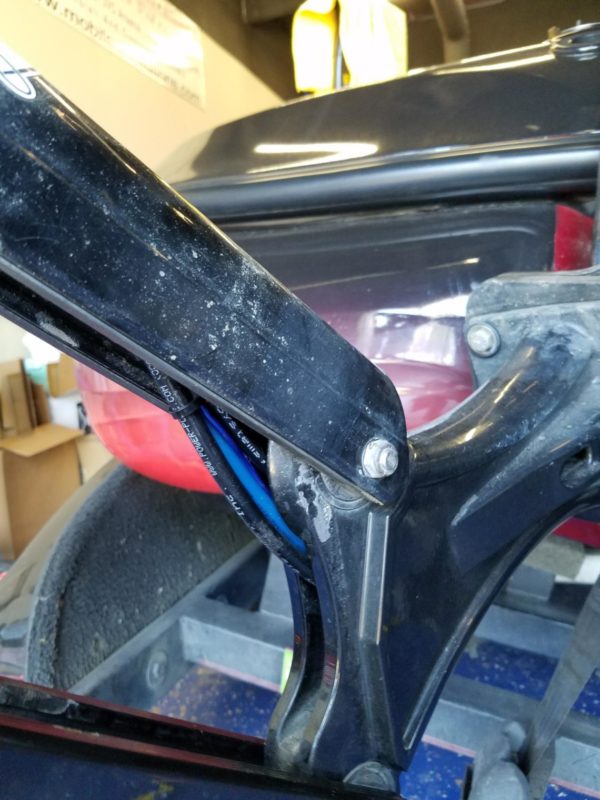
It is important to watch where you run the wiring. You have a lot of parts that move when your anchor is being used. Run the wiring up inside the top section of your Blade and keep them high above your Hydraulic Ram and the arms that control the down force. When you get to the Blue and Black hydraulic cables at the bottom of your Blade before they run through your bracket, you can add a zip tie or two to the hydraulic cables. Make sure that your wiring is on top of the hydraulic cables to keep them from being pinched when the Blade is used. I use Flush cutting zip tie cutters and spin the zip ties locking square end to the top for cosmetics. Before you run the wiring in you can either run them in directly to Nav light with no covering or you can take a spare piece of Hydraulic cable from your blade system and run the wiring through 8” to 12” of JL Marine Hydraulic Tube. This ensures that the wiring rests in the Hydraulic line groove at the bottom of your Blade. Also Keep your tube and wiring on top of the Blades Hydraulic lines to keep them from pinching. “Very important”
Once your wiring is through the bracket and the cosmetic sleeve that is on your hydraulic lines that runs from your blades to inside your boat. You are ready to attach to your Nav light receptacle wiring. Do Not cut the wiring to your receptacle simply use a high quality connector, or in my case I absolutely hate connectors! So I will solder mine on. You want to keep the receptacle in proper working order in case your Anchor light goes out. That way you can still use your old Nav light. Most boats will have a white wire and black wire at the Nav light receptacle. White 12V and Black Ground. You should however use a voltage testing device to be sure before connecting to any circuit. Why do I hate connectors you may ask? Your boat takes a beating on the road and on the water. How often do you get to the lake after a long drive and something is not working? Well same for trailer lighting. If all of your wiring is soldered for a strong weld and insulated, you definitely can’t blame the connection. I solder all of my fish finder powers, trailer light wiring and boat wiring that has to be added because a connector can wiggle off in a harsh environment corrode or worse, it is just unknown when.
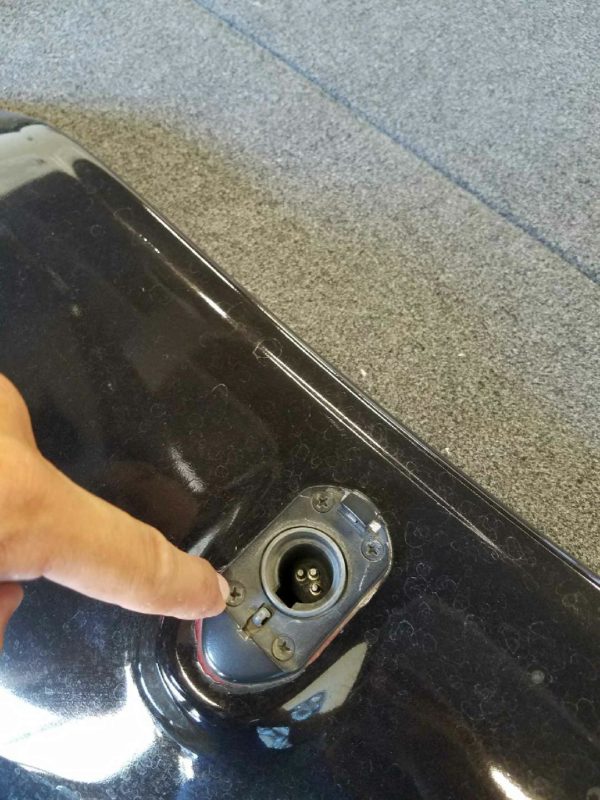
(Safety note) if you solder in your boats rear compartment (Gas tank area) you must let the rear of your boat be aired out. I recommend letting it sit with the rear compartment open the night before you do the install to prevent any harm to you or your boat.
Now I did my boat a little different. I already had wiring ran to my Blades for lighting. So in my case I left my night time fishing light wiring ran and I had a 3 wires run to my blade. The anchor light to my Nav light receptacle switch and a second light to light up the rear area of my boat for night tying and looks. So same thing, but I had to solder my wires at the lower part of my blade and finish in heat shrink. Then tidy up the wiring above the hydraulic cables.
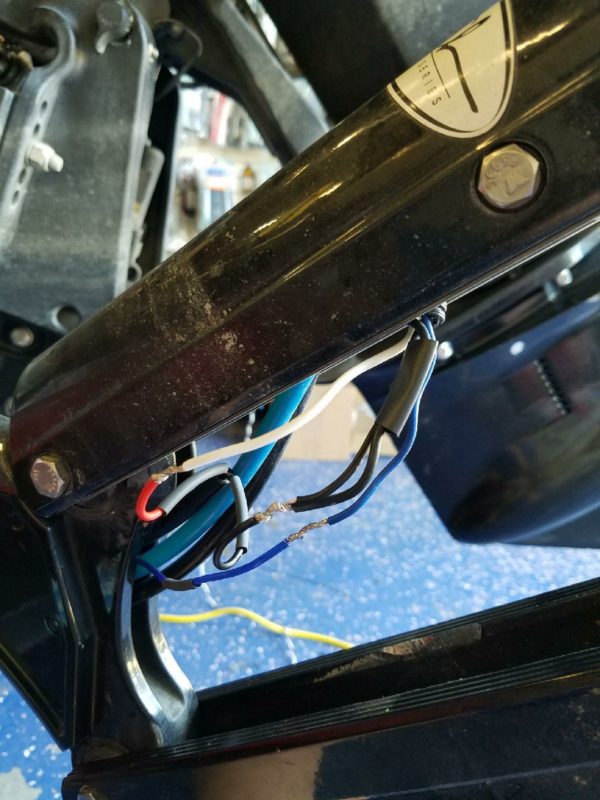
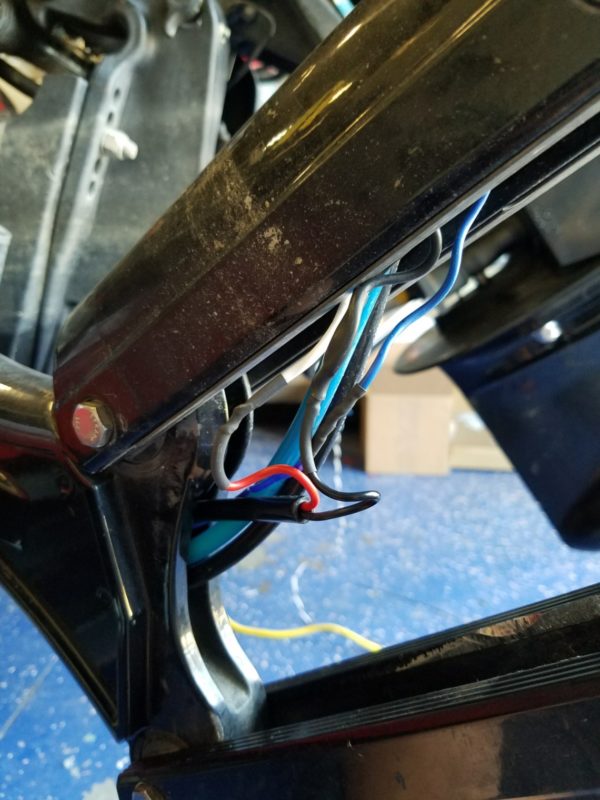

Here is how the new setup looks with the secondary lighting White 50/50 LED Strip below Nav light in front with Blade anchor light on.
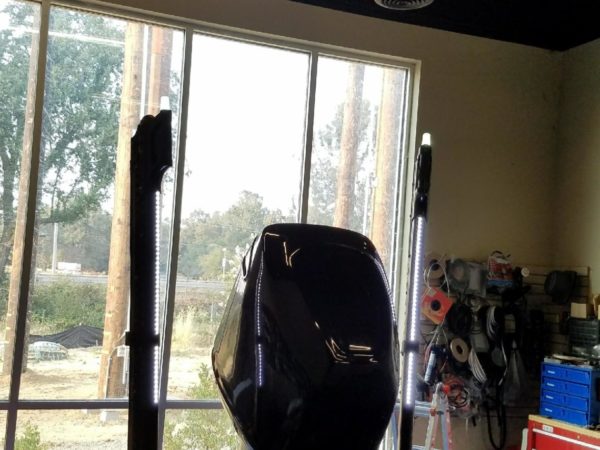
And finished dual anchor LED’s.


Overall, I am happy with the fit and finish, The design looks aggressive! The Blades are still fully useable and now a useful Nav light. No more getting out the Nav light from your front locker and wiggling it in the receptacle until it turns on. Just hit your switch and it is on. That simple! If you have questions I can be reached at my shop email at m_evolutions@yahoo.com
Hopefully this helps in your decision to upgrade your Power poles, and to have an install that lasts! See you on the water!